As many of you may be aware, I am in IT by trade and recently many people have been trying to perform the free upgrade to Windows 10 that is being offered by Microsoft until July 1, 2016.
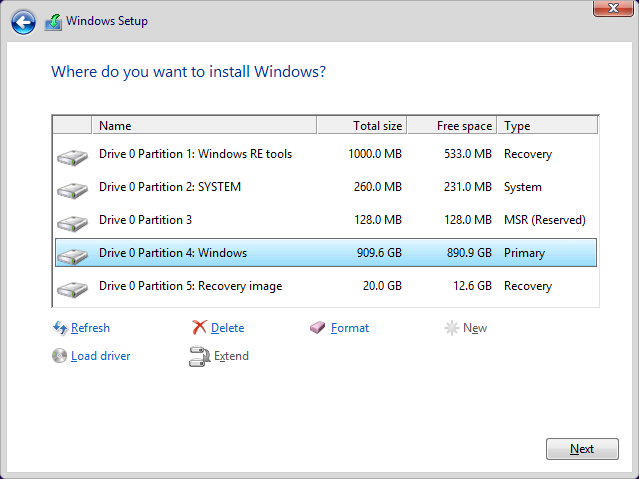
One problem many people run into is not having enough space on the System Recovery Partition (SRP) which is a special little 100MB space on your hard drive that Windows uses for storing special boot files in case your operating system has problems.
The following will show you how to free up space on your SRP so that you can perform the operating system upgrade to Windows 10. Keep in mind, this is a sensitive partition, so be sure to follow exactly as I have outlined below and you should be fine. I have tested this and it works perfectly. Usually it will free up an additional 40-50MB of space.
INSTRUCTIONS:
This makes a permanent, but small, increase in the available space of the SRP (system recovery partition).
Prepare the Recovery Partition and Backup Permissions
- Press the Windows key + R. In the Run window that comes up, type msc and press Enter.
- Select the partition marked System Reserve. Press-and-hold or right-click on it.
- Select Change Drive Letter and Paths.
- Choose Add.
- Enter Y for the drive letter.
- Tap or click OK.
- From the Start menu, search for cmd. Right-click Command Prompt from the search results, and select Run as administrator.
- In the command prompt, type Y: and hit enter to switch to that drive.
- Type the following and press enter: takeown /d y /r /f .
Note: You must include the space and the period after the “f”, or the command will not work properly. - Type icacls Y:\ /save %systemdrive%\SysResrvBU.txt /t to back up the current permissions.
- Type whoami and press Enter, and then record the user name.
- Type the following command:
icacls . /grant <username you got from whoami>:F /t and press Enter.
Note: Do not put a space between the username and “:F”, or the command won’t work.
Truncate the NTFS Log
- Check the size of the NTFS Log first. From the Command Prompt, type the following and press Enter: chkdsk /L Y:
- If the size is less than 5000KB, you do not need to truncate the file.
- To truncate the file, type the following and press Enter: chkdsk /L:5000 /X /F
Restore permissions
- Press the Windows Key (
 ) + R
) + R - Enter the %systemdrive%\SysResrvBU.txt file and press Enter.
- A notepad or other text editor application should open with the contents of the file. On the first line you will notice that it’s blank. Enter a single “.” (without the quotes) and save the file.
NOTE: Because it’s on the system drive, you might have to save it elsewhere and then copy and paste it to the system drive location manually. - Close the text editor and go back to the command prompt that you have open.
- Type the following command: icacls Y:\ /restore %systemdrive%\SysResrvBU.txt /c /t and press Enter.
- A message may display indicating some files failed while processing – this is normal as these files have been deleted subsequent to backing them up.
- If the amount of successful files is none, then the command was executed incorrectly; you must have some files successfully processed before continuing.
- Adjust the ACL back to System by typing the following:
icacls . /grant system:f /t and press Enter. - Set the owner of the drive back to System by typing the following command:
icacls Y: /setowner SYSTEM /t /c and press Enter. - Go back to Disk Management and Refresh the data to confirm if the SRP now has a greater percentage of free space. If so, the drive letter can be removed at this point.
- Right-click the System Reserved Partition.
- Select Change Drive Letter and Paths.
- Choose the Y:
- Select Remove.
- Click OK.
Leave a Reply
You must belogged in to post a comment.